Begin by selecting the Administration tab as shown below:
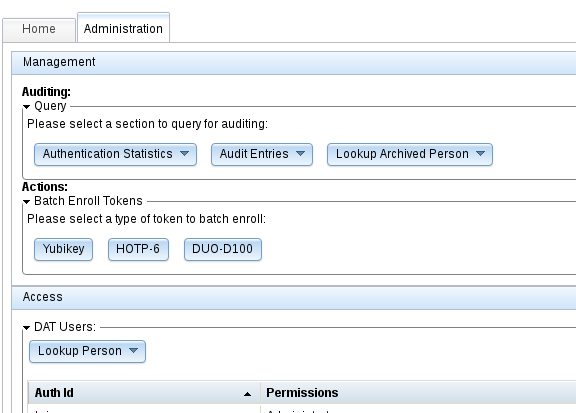
Notice the Lookup Person button under DAT Users located within the Access section.
Click Lookup Person and enter the PID of the person you wish to assign access to (you may also click the person's pid from the DAT Users list if they already have any DAT access assigned).
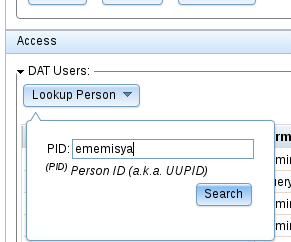
Click Search to continue.
Assigning Permissions
After query completes, you will be shown a list of available permissions to assign to this person on the left column, and a list of already assigned permissions on the right column. Here you may drag and drop multiple permissions from one side to the other which will perform the assignment operations. Lets assign Query Person & Manage Account permission to this person.
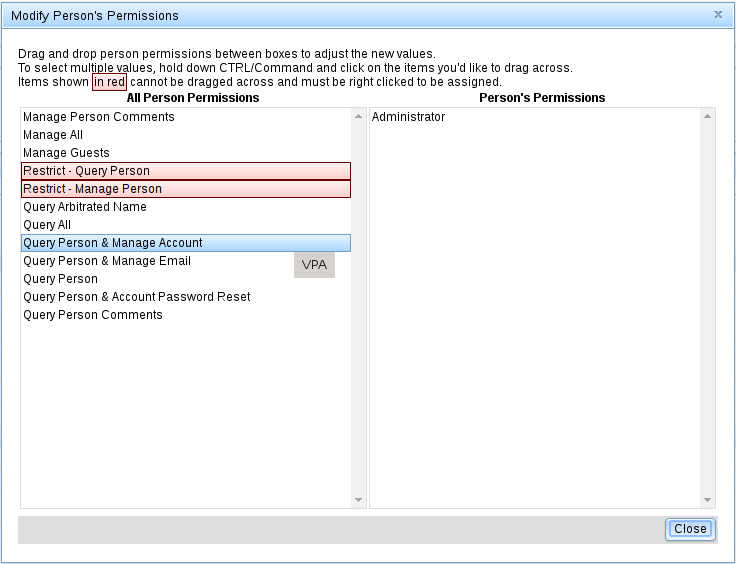
Simply click and hold the Query Person & Manage Account permission, and drag it across to the column on the right as shown below:

And drop it on the right hand side column. Once the permission is on the right hand side, the permission has been successfully assigned.
Red Permissions
Permissions shown in red are special permissions meant for restricting the already assigned permissions on the right hand column.
For example, Restrict - Query Person restricts the Query Person portion of any access assigned on the right hand column. Referring to the example above, Query Person & Manage Account combined with the Restrict - Query Person restriction will result in an access combination where the user will be restricted to only being able to query for the accounts of people restricted by the criteria Restrict - Query Person was assigned with.
In this case Restrict - Query Person will restrict all query operations by an Organization Code.
Right click  on the left hand side column to continue:
Red permissions must be assigned by right clicking them and providing the filtering information required by the individual permission.
Click Put Restrict - Query Person to continue:

Notice the pop-up box asking you to provide the Organization Code(s) needed for this restriction scope. Enter one or multiple (comma separated) organization codes in the text box as shown below, then click OK to continue.

The restriction criteria has now been applied to all permissions on the right hand column beginning with Query Person. You may hover over the Restrict - Query Person permission assigned on the right hand column to view the Organization Code(s) it was assigned with as shown below:

Removing Permissions
To remove a permission, simply hold and drag the permission back onto the left hand side column as shown below:

Hold, drag to the left, and drop.
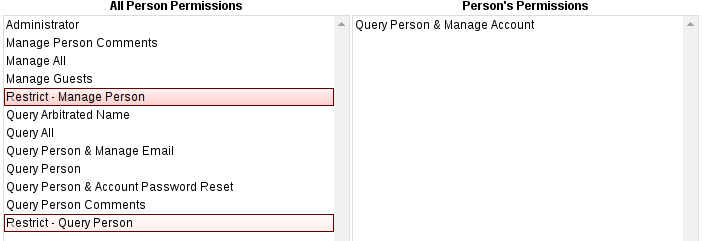
Once you have finished assigning permissions, click  to continue.
To assign access to services, first find the Service you'd like to assign access to. (Use the QuickFind feature to locate a Service by its uusid or uid as shown below):

Scroll down to Web Service Permissions section to see all the roles already assigned or may be assigned to the Service as shown below:

Note that in the figure above, the Authorized End-Point Operations: header lists nothing.
To assign access to this service (for the sake of this tutorial we will assign Guest management access) locate the role in the Available Permissions box, drag and drop it to the Active Permissions box as shown below:
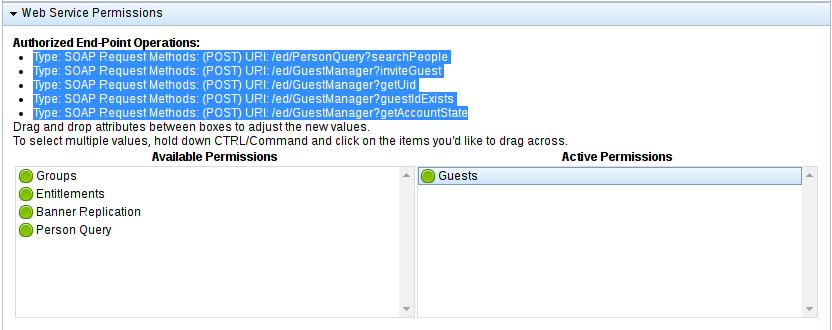
Notice how the Authorized End-Point Operations: was updated to list all endpoints available using this Service.
To remove access, simply drag and drop the role to the Available Permissions box from the Active Permissions box.
Once the role is removed Authorized End-Point Operations: will be updated to reflect the changes as shown below:
